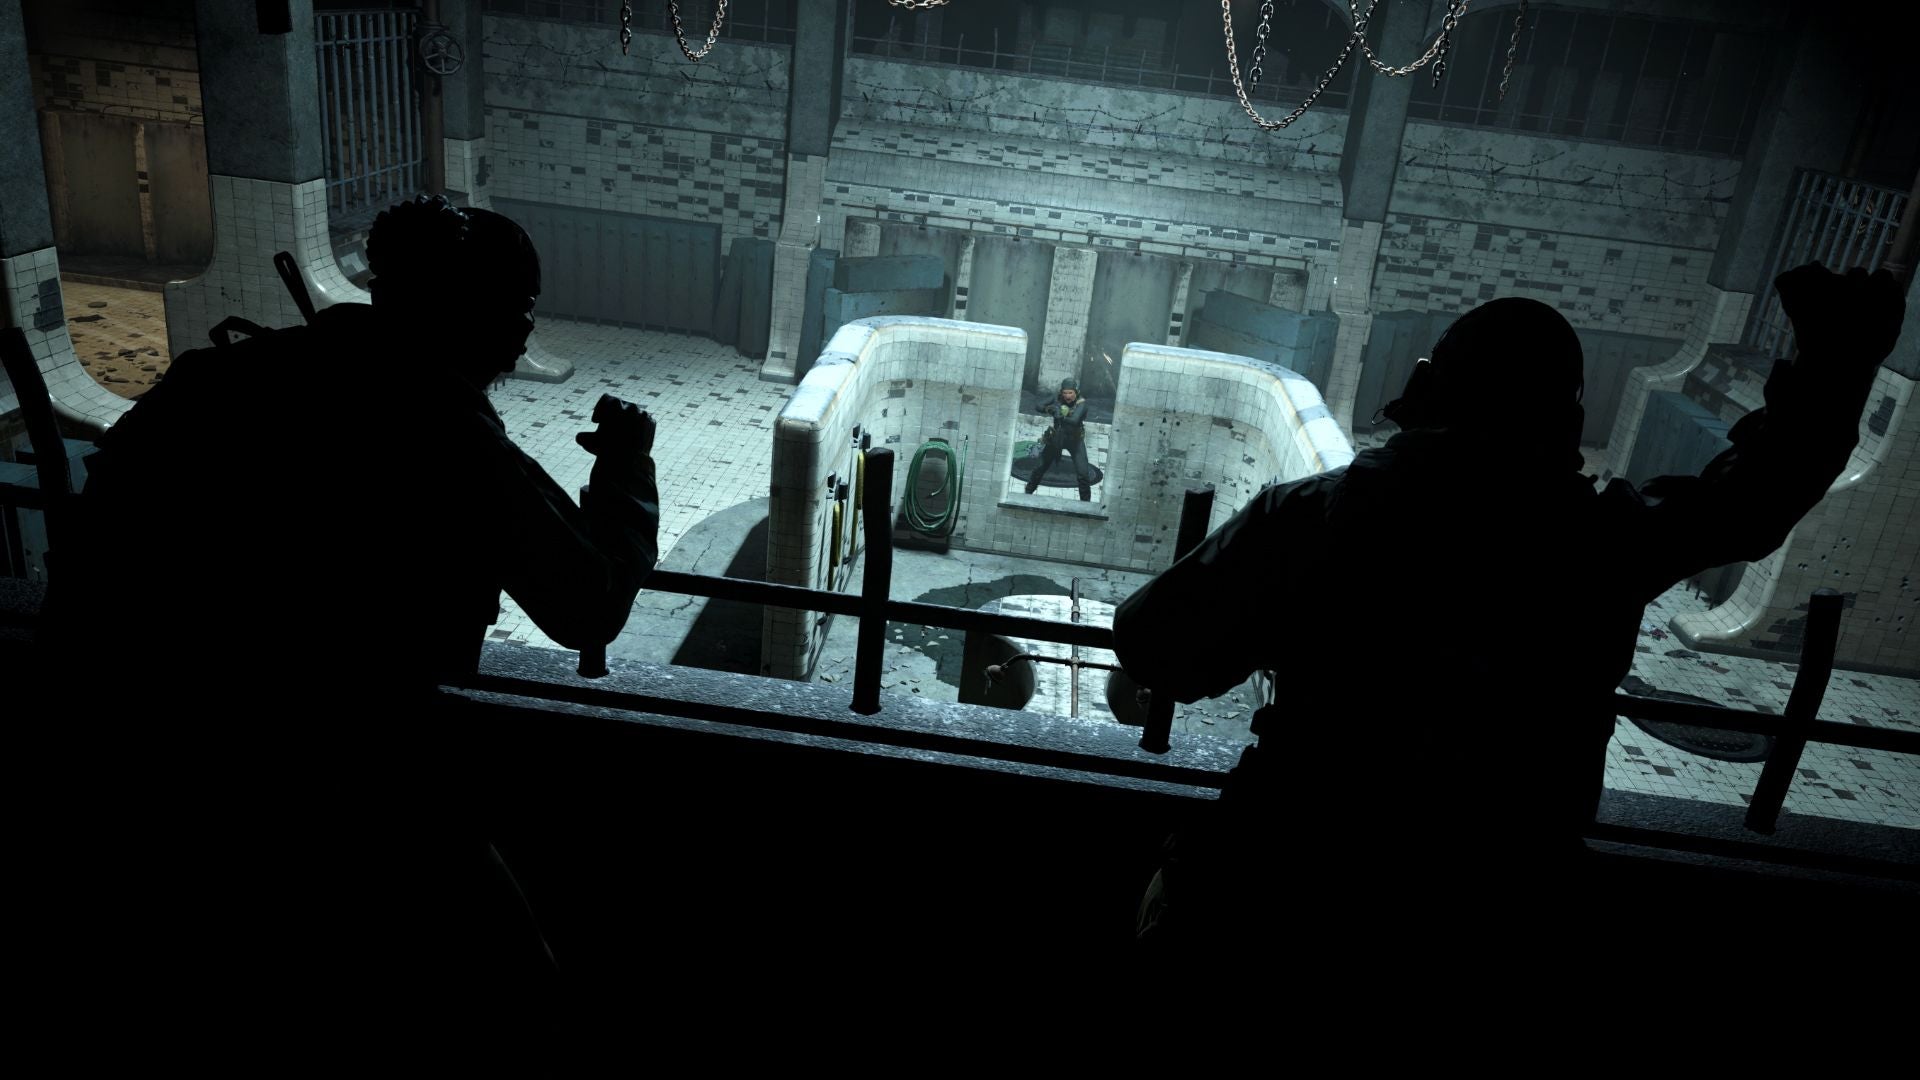
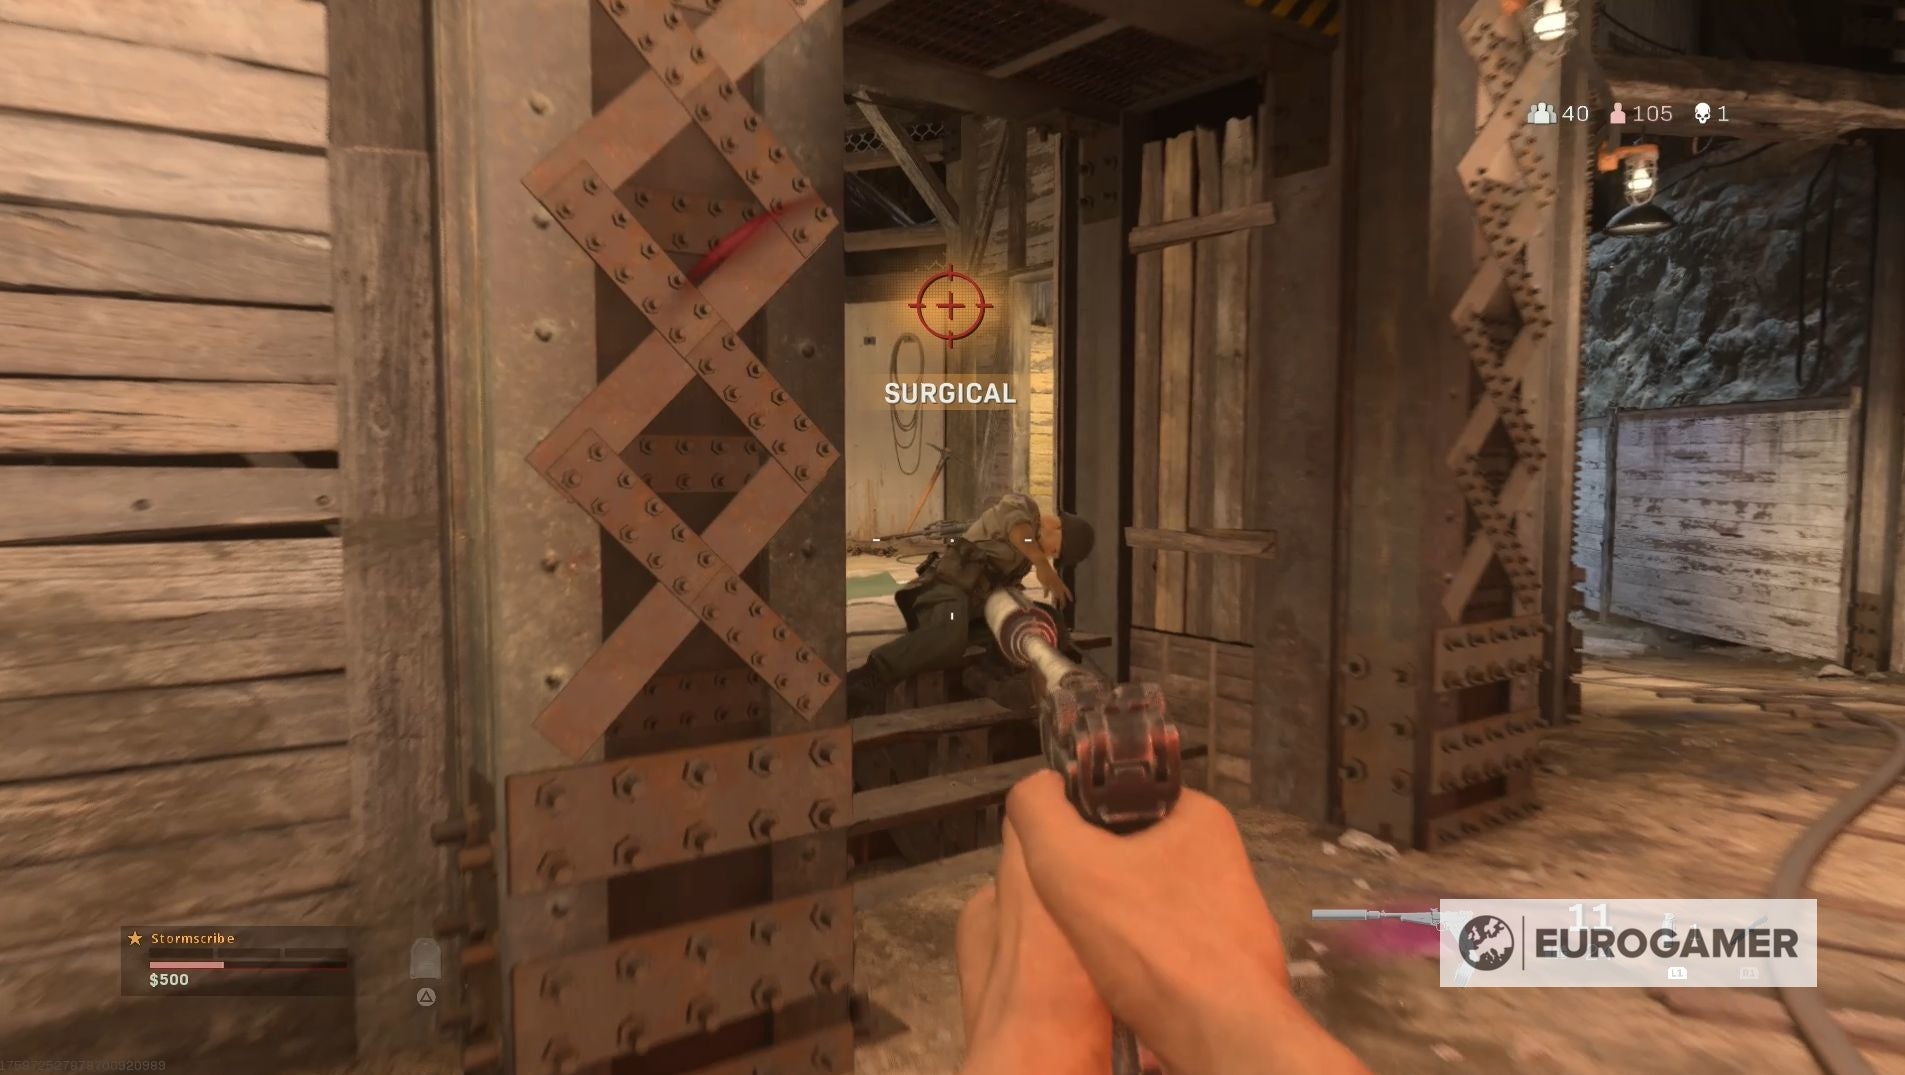
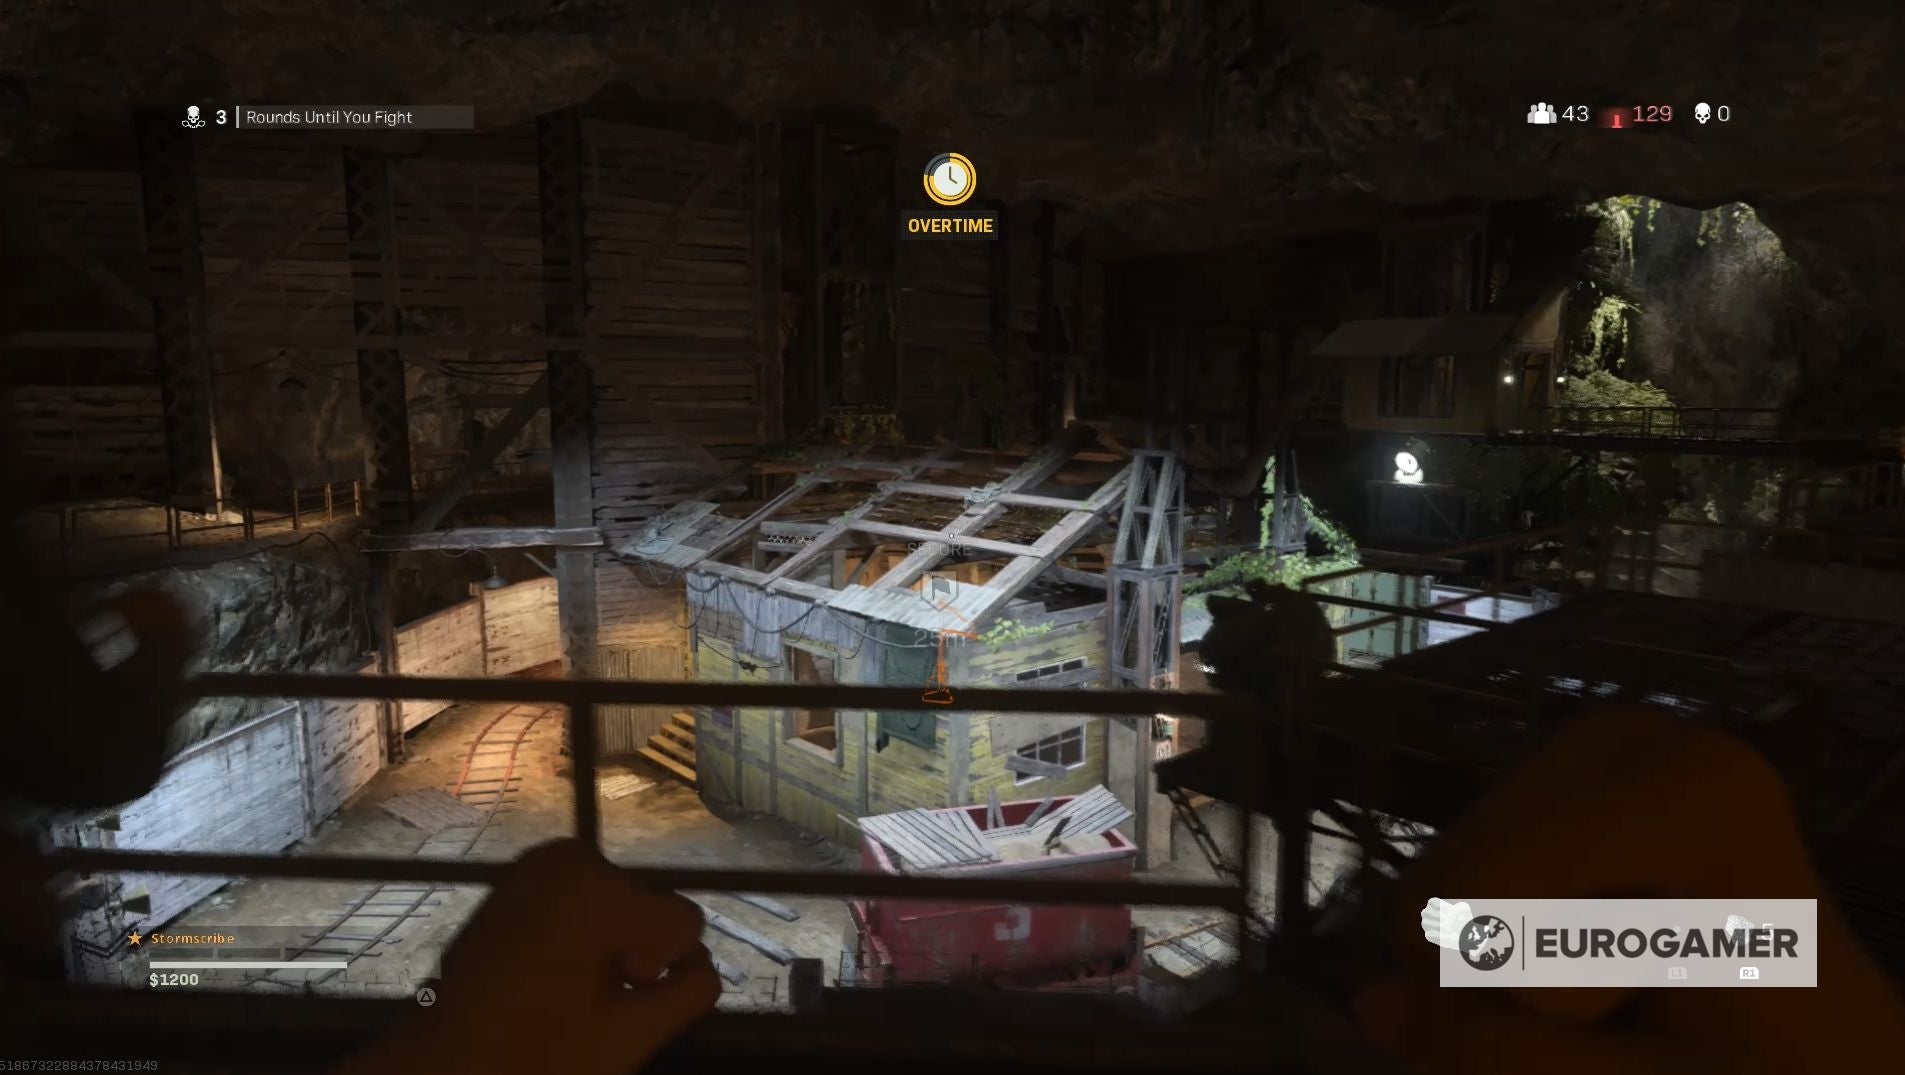
If you don’t defeat your gulag opponent quickly enough, however, then the match will enter Overtime. You may also find yourself spectating gulag matches as you wait for your turn in the ring, but, if you’d prefer to avoid the gulag, then there are ways to revive both yourself and your squadmates. On this page: The first change you’ll quickly notice is that the gulag has a new map, which consists of a small shack and the area around it. This map’s theming is in keeping with the island of Caldara - the new Warzone map. The second change is that, if you win your match, you will keep the loadout randomly assigned to you in he gulag when you re-enter the match. This makes you far less vulnerable upon re-entry and there’s a chance you’ll be assigned a powerful weapon that will give you an edge over the competition. Each fight is a one-on-one match with another player who has also fallen on the battlefield and, depending on how many players there currently are in the gulag, you may have the opportunity to watch other players battle as you wait for your turn. You can only visit the gulag once per match, so, if you win, make sure you don’t die a second time, because, if you do, you’ll be out of the match forever. It’s important to remember that the gulag is not a physical location on the Warzone map and, instead, is an isolated area, which can only visit the first time you die in a Warzone match. If you don’t know the gulag rules, they are:
The goal is to eliminate your opponent. At no point will your health regenerate. Each round lasts for 40 seconds. If both opponents are alive after these 40 seconds ends, then the match will enter overtime. Your loadout will be random.
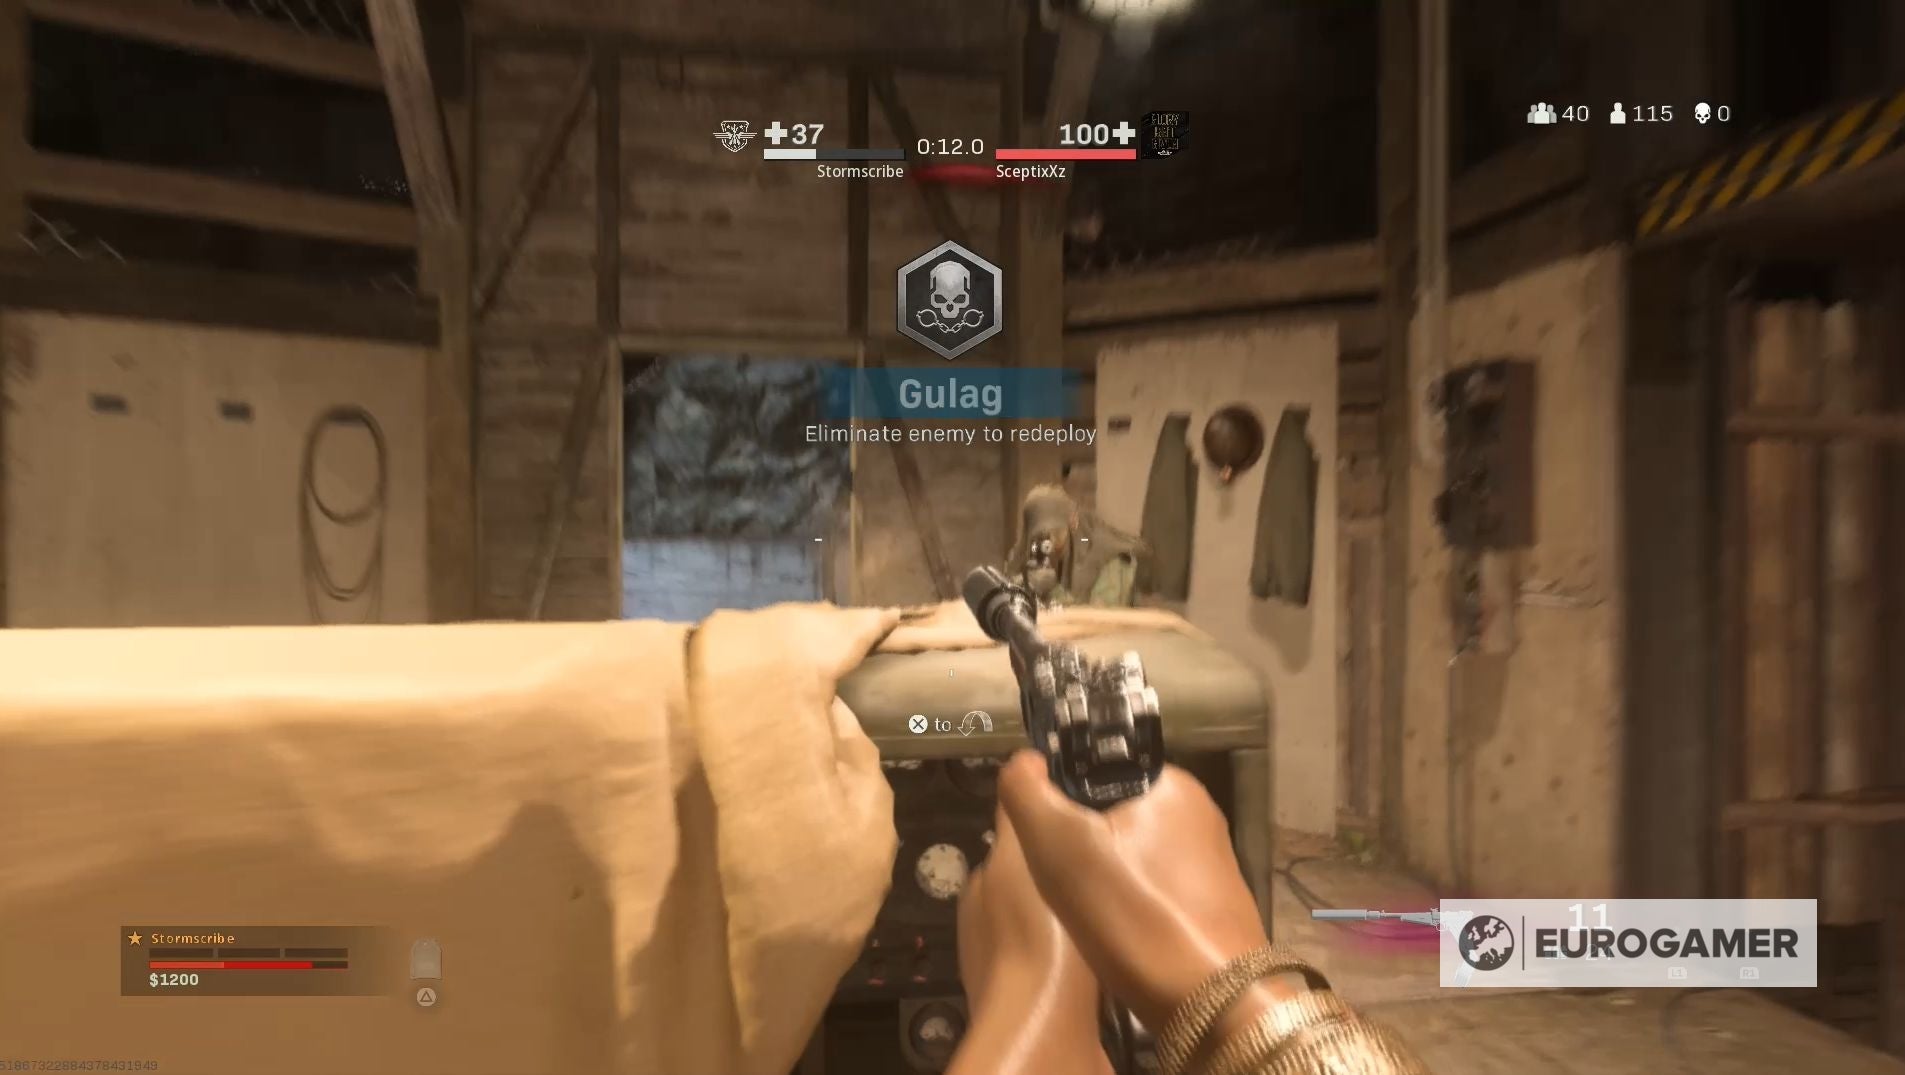
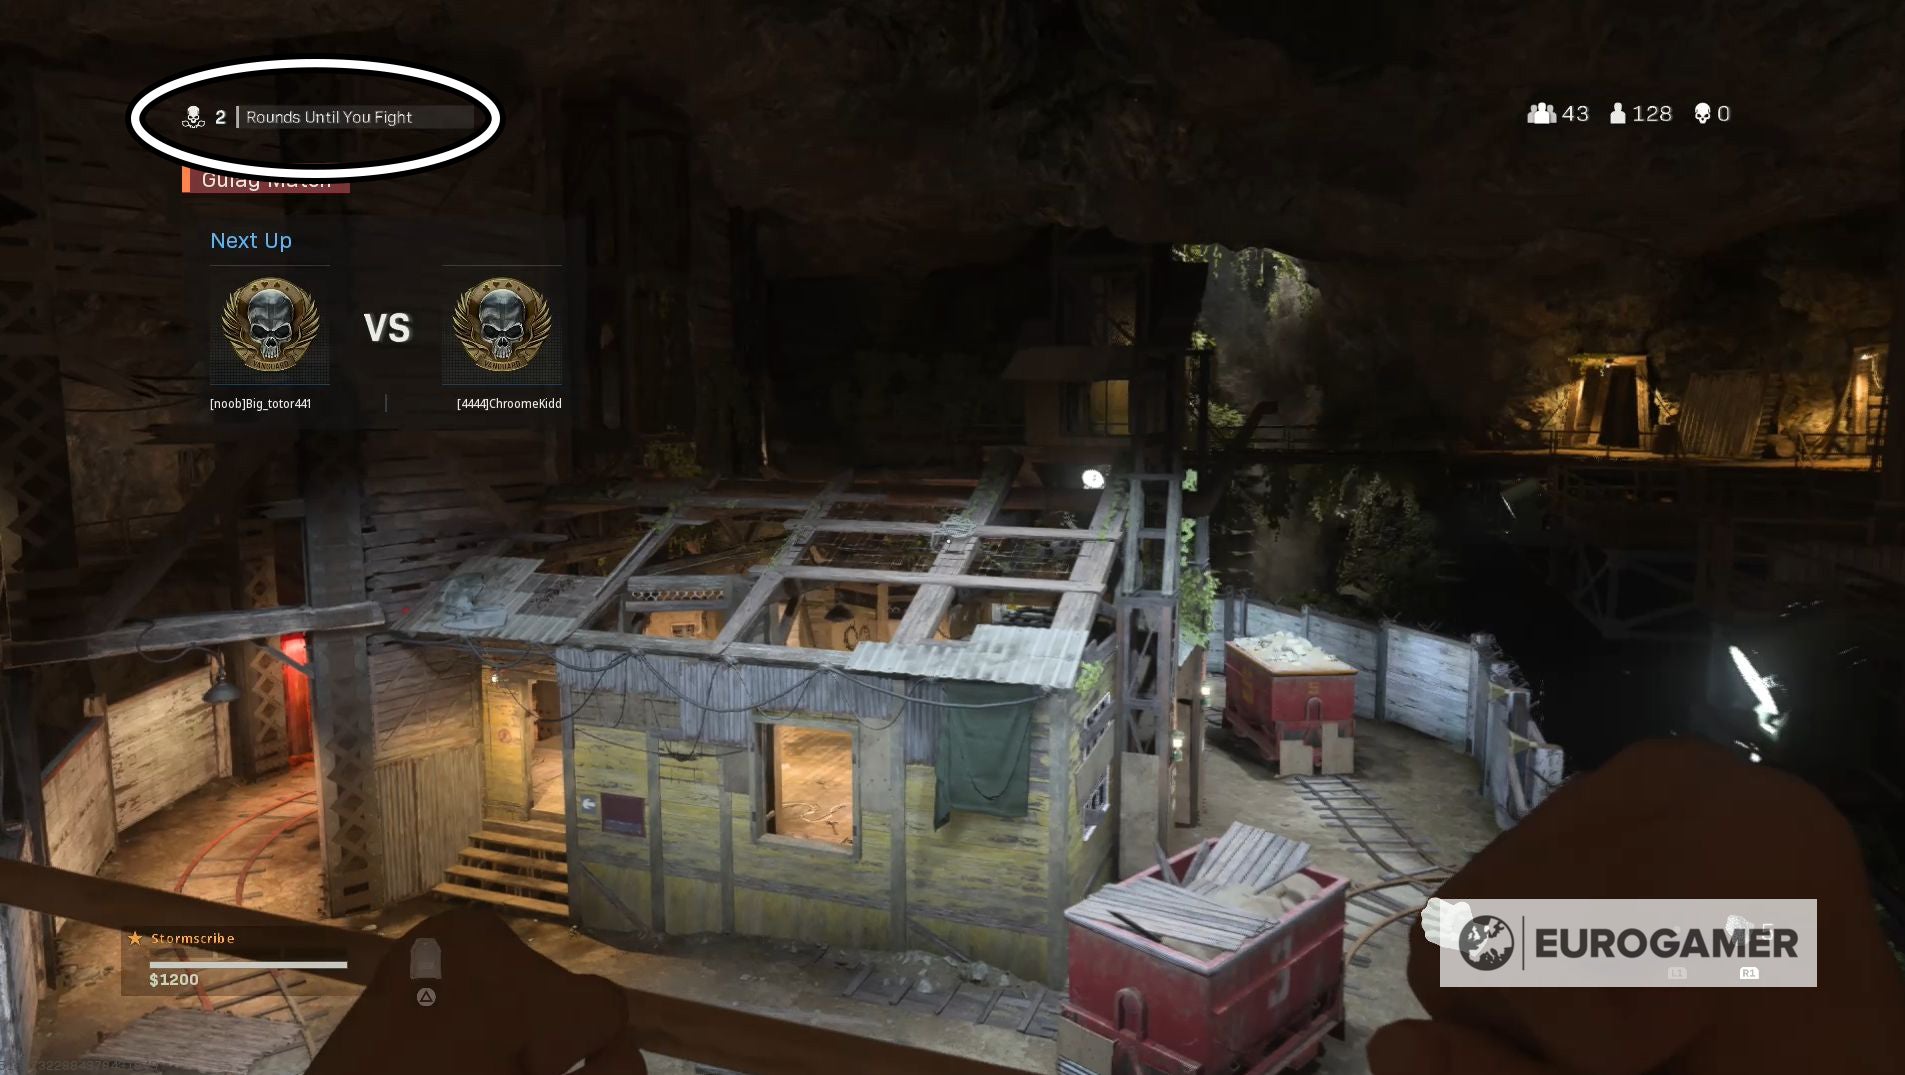
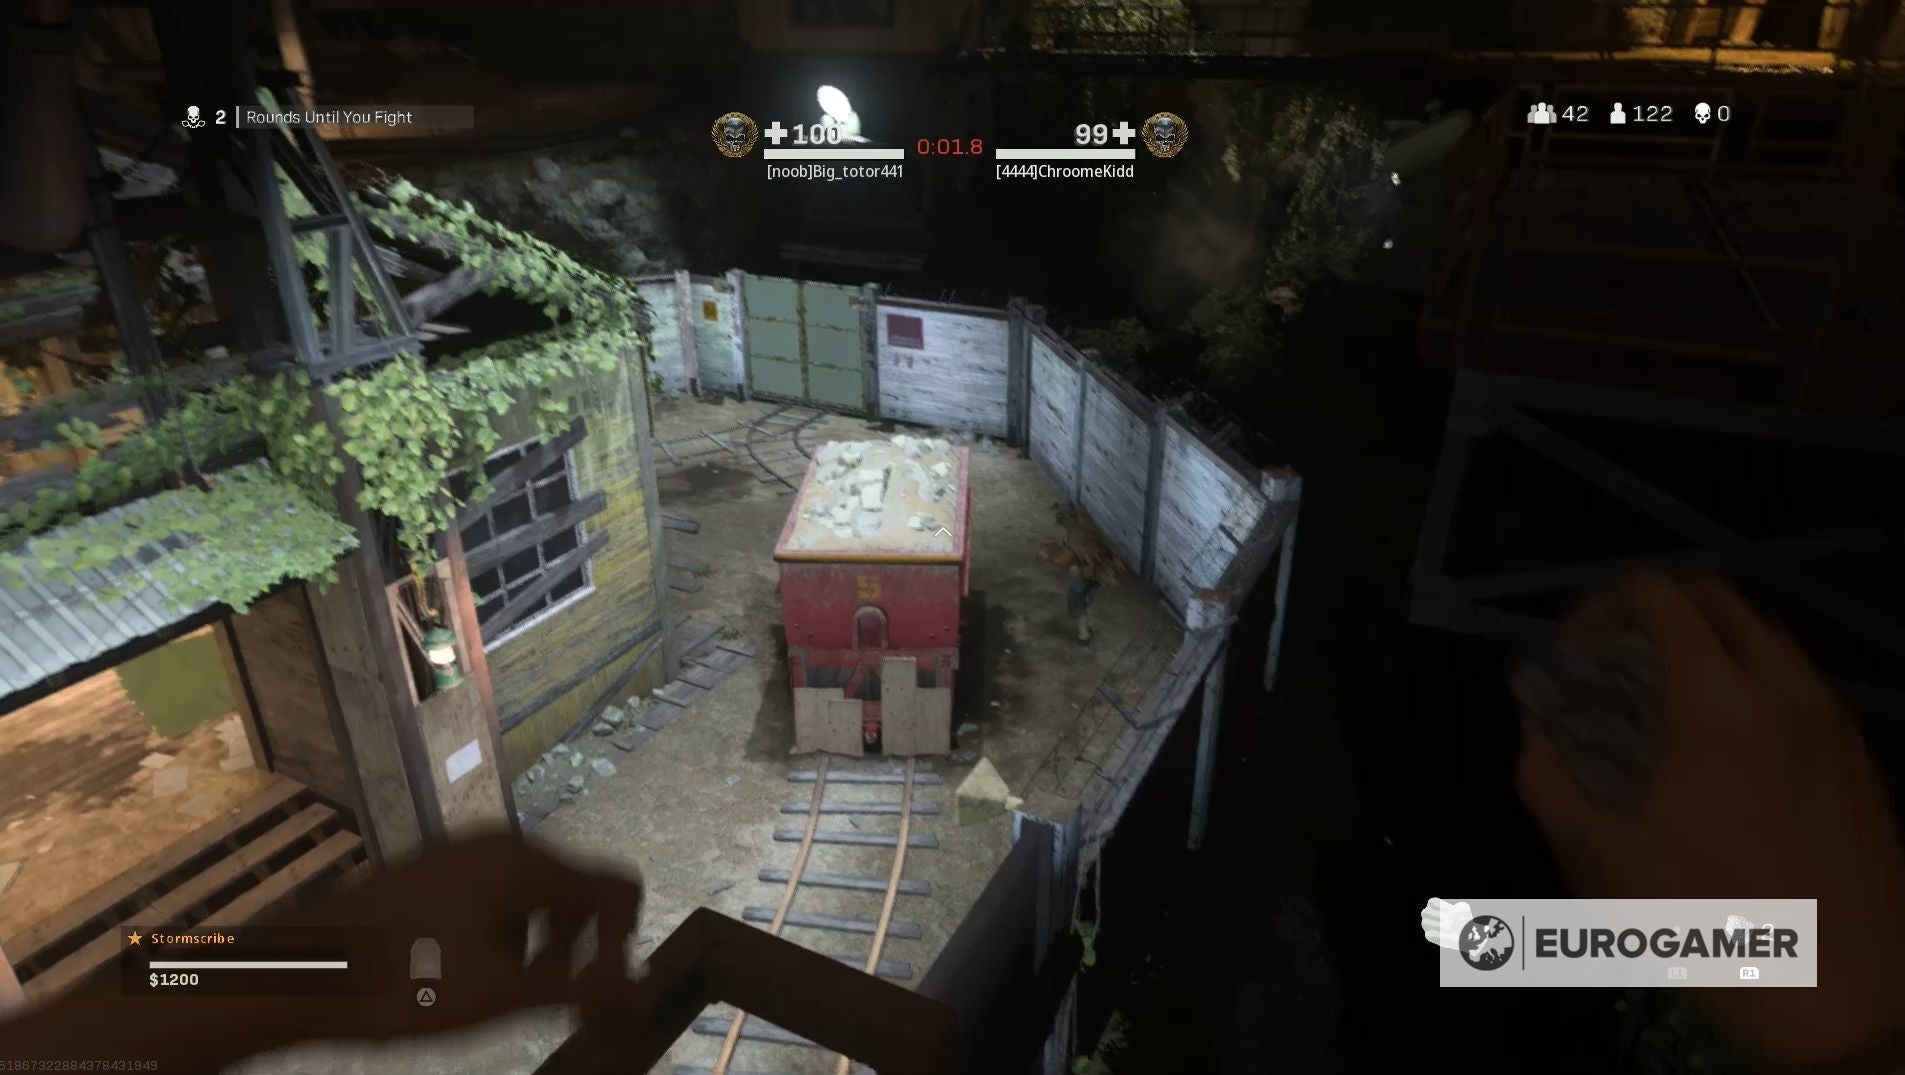
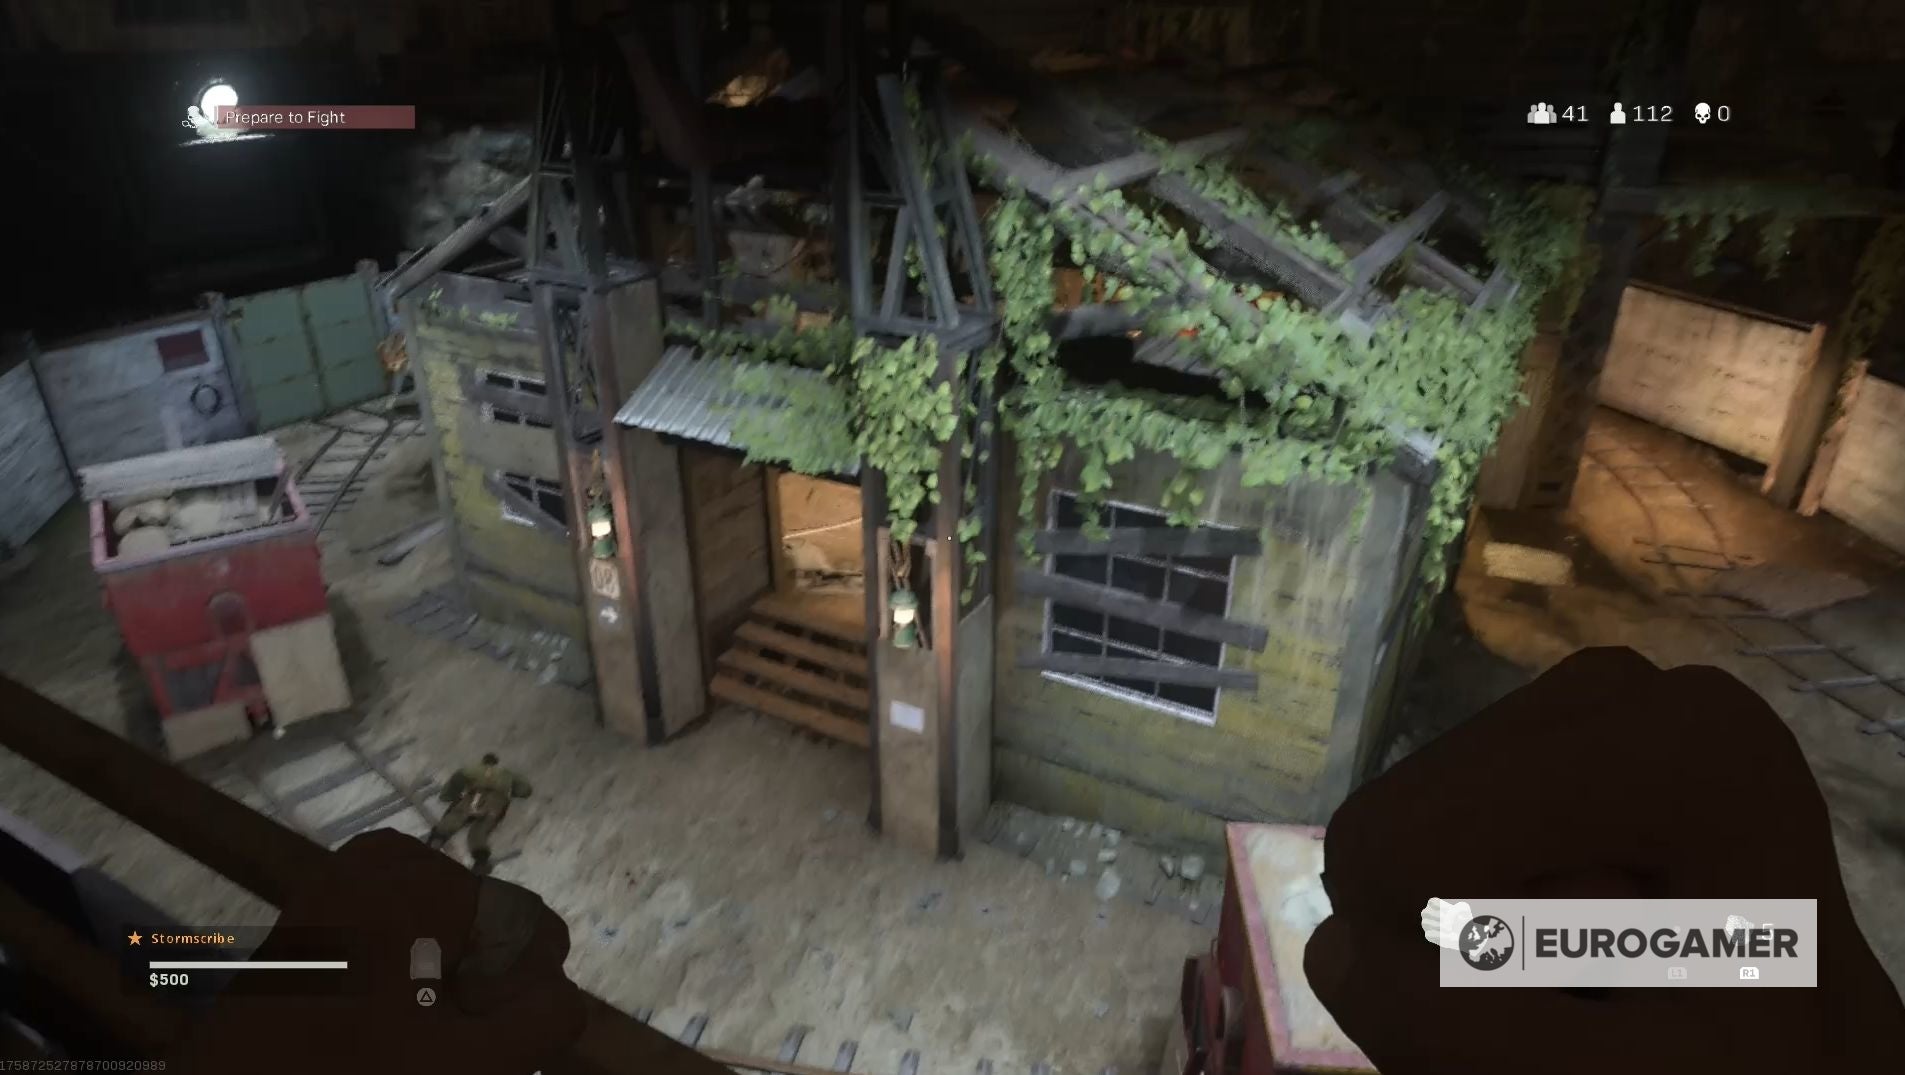
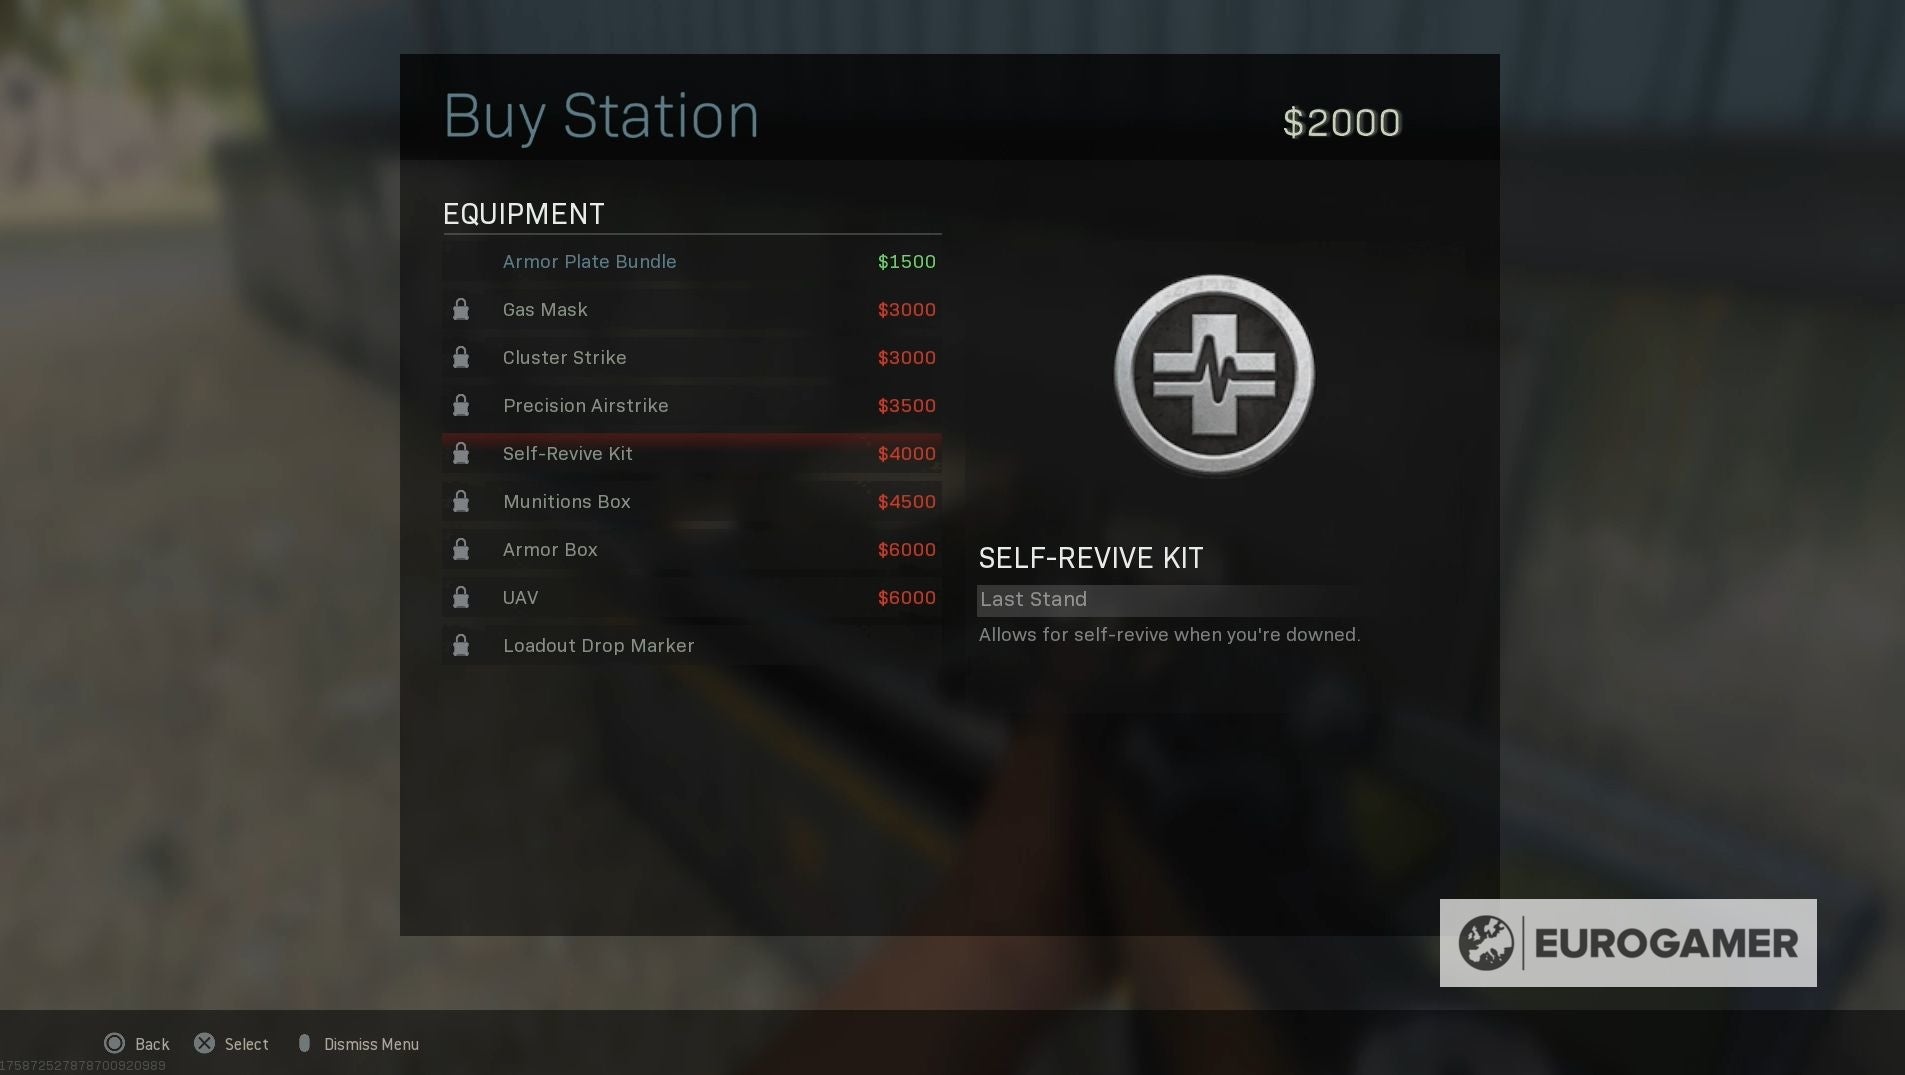
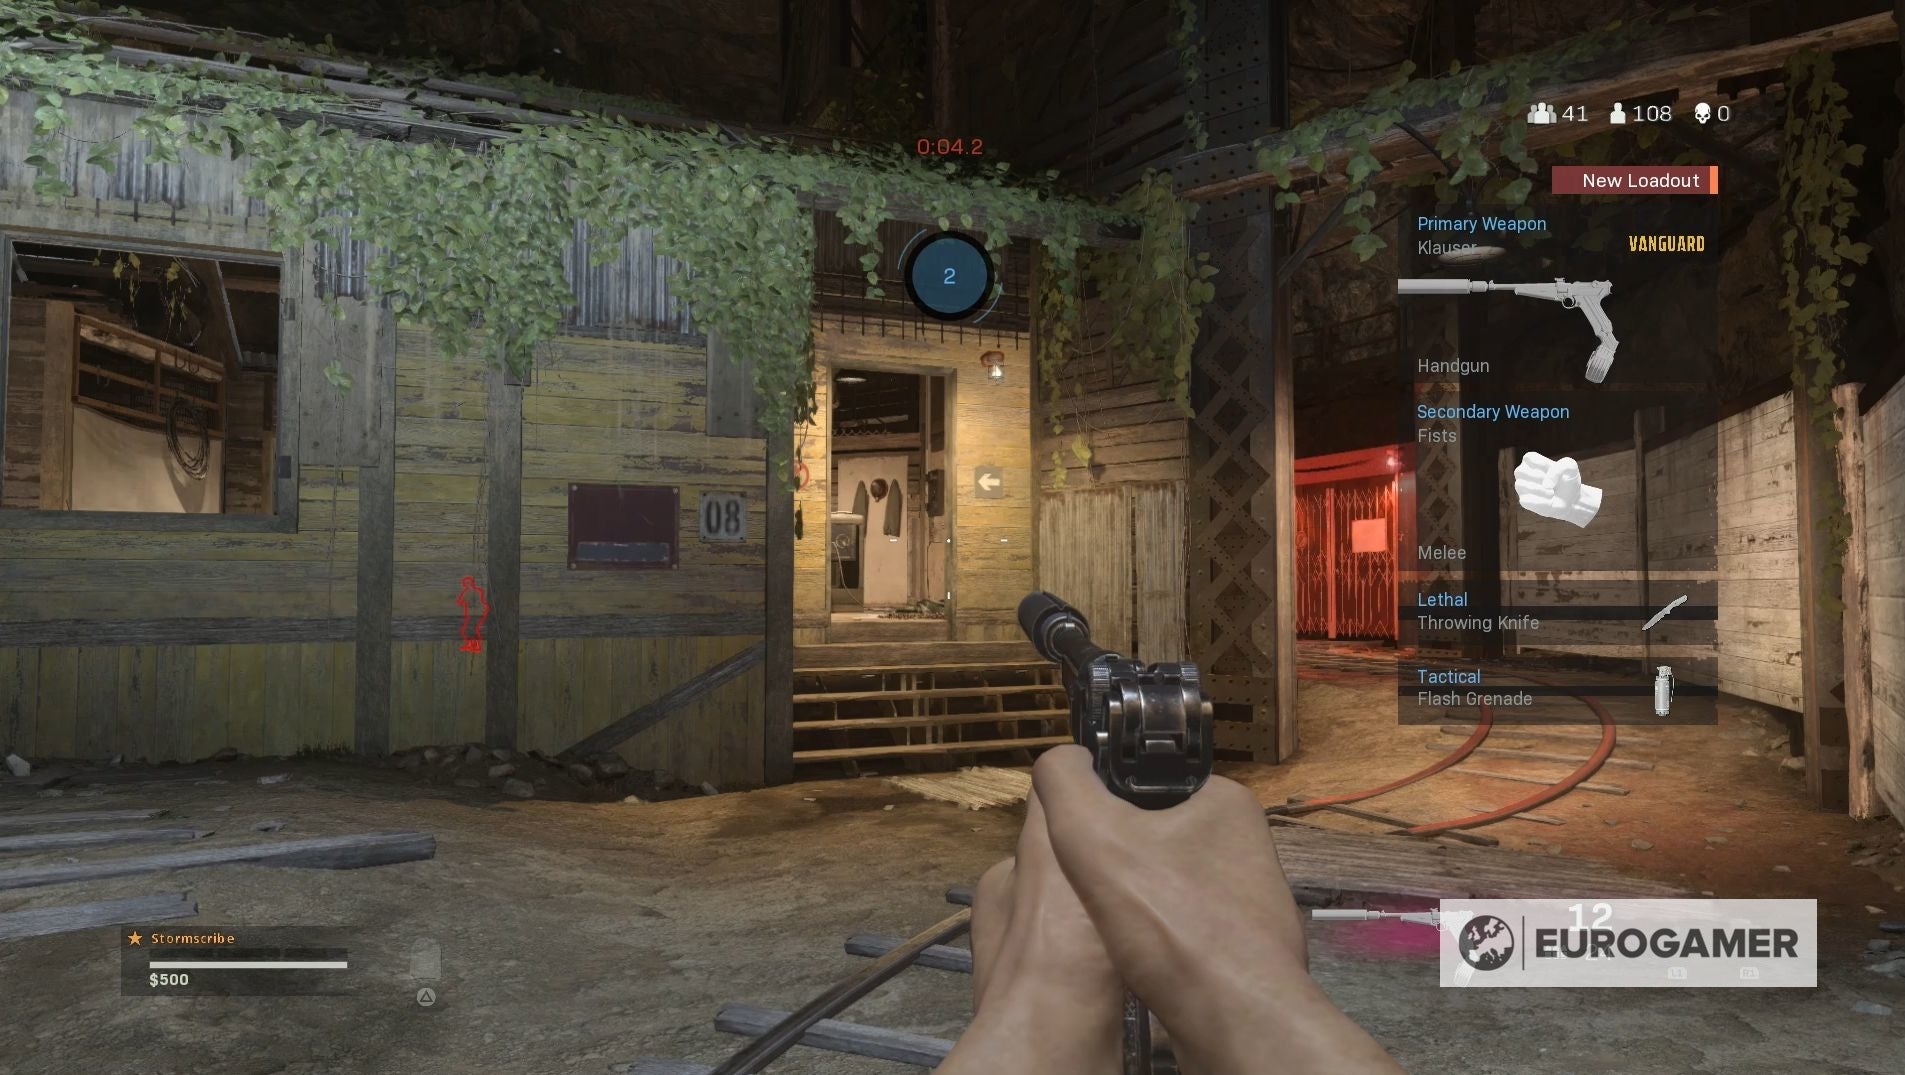
If you win, Warzone Pacific now allows you to keep the loadout you used in the gulag match. This includes any ammo and remaining equipment, so, if you’re an effective killer, you’ll have more gear available to you upon re-entering the match. This feature is quite useful for any time you die early on in Warzone match, because it ensures you’re not redeployed empty handed and, who knows, maybe the loadout you receive will assist you in winning the overall match. When this happens a flag will appear inside the shack, which sits in the centre of the gulag map, and, to win the match, you need to either capture the flag or defeat your opponent before they can take the flag for themselves. The flag, however, will only be available for roughly 15 seconds. If the flag is not captured within this time limit, then the player with the higher amount of health wins the match, but, if you have the same amount of heath, you’ll both return to the battlefield. When a new gulag match begins, the players names will appear on screen, so you’ll know if one of your teammates is fighting down below. In the top left-hand corner sits a counter which will tell you how many rounds are left to go till your fight. This timer will glow red when your match is next, so you get yourself mentally prepared. The pass the time while you wait, you can throw up to five rocks at the current fighters. If you rock lands it match, then the player will loose 1 HP, but, if they only have 1 HP left, it won’t cause any damage at all. Rocks can be used to cause some good old fashioned chaos or, if you’re lucky, help return a squadmate to the battlefield. The map layout is simple - in the middle sits a shack, which is where the overtime flag will spawn, and, running alongside either side of the shack, are two side routes, which will lead to the areas where you and your opponent will spawn. The shack doesn’t have a full roof, which, depending on your loadout, you can easily use to your advantage. You and your opponent will always spawn at outside ends of the map, but, due to its small size, it won’t be long till you encounter each other. For this reason, it’s good to have a selection of different gulag tactics at your deposal, so you can adapt to your new loadout and kill your opponent as killing as possible. To do this, you need to reach your downed squadmate and spend a couple of seconds reviving them. It’s a good idea to have another team member cover you during this, because you’ll be unable to fight back if there are any nearby enemy players. Downed players can also crawl towards their squadmates or find cover - just make sure you’re properly killed! If you don’t want to distract your squad from the battle at hand though, you can always use a Self-Revive Kit. Self-Revive Kits return you to the battlefield with all of the items and cash you’ve earned during the match. A Self-Revive Kit has to be manually activated and there’s a short time delay until you’re returned to the battlefield, so you need to use these kits carefully. The revive meter allows you to keep track of the process, giving you a good idea of how long it will be until you’re ready to fight again. Your squadmates can, however, assist your revival if you’ve only got a small portion of the revive meter left to go. When this happens, your squadmates can actually revive you themselves and doing so not only reduces the revival time, but prevents the Self-Revive Kit from being destroyed after use. Self-Reive Kits can be brought from the Buy Stations, marked by the trolley symbol, scattered across the Warzone map or, if you’re very lucky, found within a Supply Box or Scavenger Contract Supply Box. It’s also possible to Buyback squadmates before or after they’ve been eliminated during a match using the Buy Stations. You can find this option on the BuyBack menu and its very useful if you’re playing with someone who’s new to Warzone. The downside, however, is that the player won’t return with any of their cash or loot, so they will need to go loot hunting. If your entire squad is eliminated, however, then any purchased BuyBacks will be mute. Warzone Season 5 is almost here! If you want to learn more about firepower from previously, we explain the best Welgun loadout, best Cooper Carbine loadout, best Gorenko Anti-Tank Rifle loadout, best STG44 loadout, best MP40 loadout, best Automaton loadout, best BAR loadout, best Combat Shotgun loadout, best Type 100 loadout, and best Kar98k loadouts.
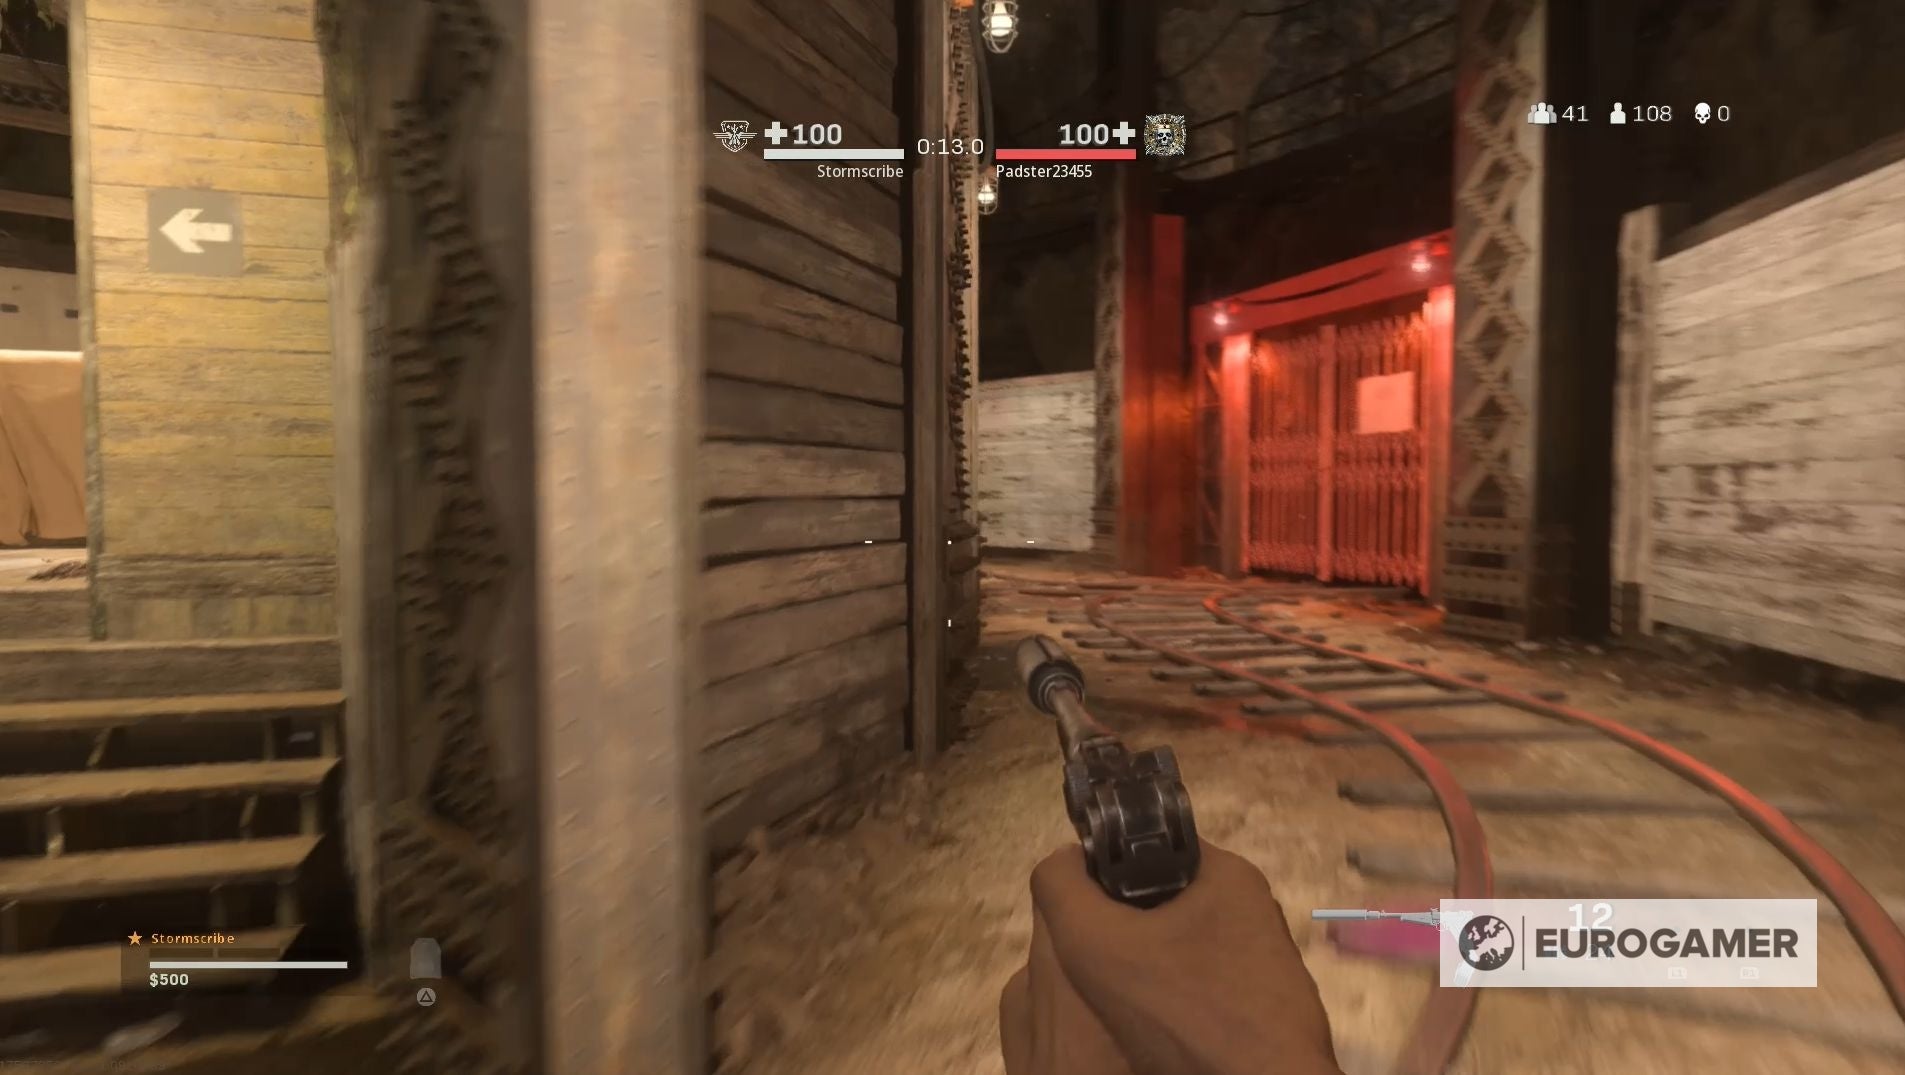
Make sure you read your loadout when the match begins; you don’t want to waste time doing it during the match. Since your loadout in the gulag is random, it’s a good idea to be familiar with each weapon type in Warzone. This way, you’ll have a tactic no matter which weapons you’re given. Try to kill your opponent as quickly as possible and without using too much ammo to ensure you re-enter the match with as much equipment as possible.
Learn the layout of the gulag map - it may be small, but there are multiple ways to use it your advantage. Never be afraid to run for cover - the goal is survival after all. While you might be tempted to capture the flag straight away in Overtime, it can also be used as bait to destroy your opponent.
Good luck!